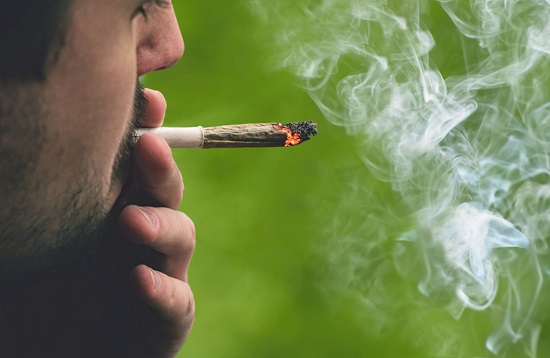
These days, you can walk into any dispensary and buy pre-rolled joints. But back in the day, almost everyone knew how to roll a joint.
Of course, you don’t really need to have this skill to survive. But if you don’t know already how to do it, it is, at least, a good party trick.
And it’s not (that) hard. Especially if you get enough practice.
How to Roll a Joint
You’ll need to gather some supplies first. Obviously, you’ll need cannabis.
Then you’ll need to get rolling papers -and there is quite a selection. Rolling papers have traditionally been made out of tree pulp, but there are a variety of different materials used to make them these days, including hemp, rice, bamboo, and flax. Hemp is preferred by many because it’s thin yet strong and doesn’t affect the flavor of your cannabis.
Finally, you’ll want to get a cannabis grinder and a crutch for the joint tip. Once you’re all set up, there are six fairly simple steps:
-
Grind the Cannabis
Be sure that your cannabis is dried well and breaks down easily. Then, with your shiny new grinder, grind your chosen cannabis into shake. This is going to make filling the joint more consistent and thus easier to roll. It’s also going to burn more evenly.
-
Create Crutch/Tip/Filter
A crutch isn’t necessary, but it will make rolling your joint easier. Plus, you won’t burn your fingers when you’re toking and you’ll get the absolute most from your cannabis without wasting any.
Your crutch could be made of just about anything. If you’re new to the process, you may want to buy some filter tips. If you’re feeling more adventurous (and don’t want to get into a car at the moment), you could instead use rolling paper packs or any thin piece of cardboard.
Once you have your crutch, put a few accordion folds in your rolling paper and then roll the crutch to the thickness you want your joint.
-
Fill the Paper with Cannabis
Put the crutch at one end of the rolling paper. Then pour 1/2 – 1 gram of shake on the paper and with your fingers, begin to shape and form the joint.
-
Roll It
Once it’s locked and loaded, as it were, it’s time to roll the paper! Pinching the paper between your fingertips, roll the joint back and forth until the cannabis takes on a cone shape.
-
Seal the Joint
This step is among the most difficult. And it may take a few tries before you get a feel.
Starting with the crutch side, tuck the unglued side of the paper into the roll. Then roll it up and lick (lightly, don’t slobber) an edge of the glued side to attach it to one end of the paper. From there, work your way down the rest of the seam to seal it together.
-
Pack the Joint
Finally, to ensure a more even burn, pack the open end of the joint. You can do this with a pen, the tip of a shoelace, or even a lollipop stick. Whatever. Just something long and thin.
From there, either spark up your creation, or give the tip a twist to close it up if you’re taking it on the road. And you’re ready to go!
You Have a New Skill
Now that you know how to roll a joint, your life is complete. Okay, not really. But if you’re a cannabis connoisseur, it’s a skill you may find helpful.
Meanwhile, if you’re a cannabis business owner, you’ll benefit from getting the best possible cannabis marketing plan. That’s where we come in.
Contact us today to experience the premium in marketing and public relations for your cannabis company. Get rolling!